Real Estate Photos: How They Distort What You'll Actually See
Justin Reynolds
Key Takeaways
- Wide-angle lenses and professional lighting make homes appear 30-40% larger and brighter than they actually are in person.
- Visit listings during poor lighting conditions and measure spaces against your body to see the real dimensions photographers hide.
- Request full photo sets, shoot your own phone video, and prioritize your in-person impression over listing photos when evaluating homes.
Skip ahead — run the numbers now
You walk into a listing that looked enormous online, and suddenly it feels cramped. Or you visit a home that seemed dark in photos, but natural light floods through the windows in person.
Real estate photography isn't just documentation. It's a carefully orchestrated perception machine.
Understanding how these images distort reality will help you evaluate listings more critically and avoid surprises on viewing day.
How Lens Choice Reshapes Room Dimensions
The most powerful tool in a real estate photographer's kit is the lens. Wide-angle lenses, typically 14-24mm, create a visual stretch that makes spaces appear significantly larger than they actually are.
This distortion is physical, not digital. When you stand in that same room with your own eyes, you're experiencing it through a natural focal length of roughly 50mm, which is why the dimensions feel smaller.
This isn't accidental. Real estate photographers deliberately use ultra-wide lenses to combat the psychological effect of enclosed spaces. A bedroom photographed at 18mm can look 30 to 40% larger than what you'd perceive standing in the doorway.
The walls appear to recede further, corners seem more generous, and hallways stretch longer. Even amateur photos taken with smartphone cameras—which default to wide-angle settings—naturally exaggerate space.
The angle also matters enormously.
Shooting from a low position (near floor level) makes ceilings appear higher and rooms feel more expansive. Photographers angle upward slightly to maximize vertical space. They position themselves in corners to capture the most visual territory in a single frame. None of this is deceptive in a legal sense, but it's deliberate perception engineering.
Key points about lens distortion:
- Wide-angle lenses (14-24mm) create 30–40% apparent size increase
- Smartphone cameras use wide-angle defaults, inflating perceived dimensions
- Low shooting angles make ceilings appear taller and rooms feel more open
- Corner positioning captures maximum visual territory per frame
- What looks spacious in a 18mm photo feels noticeably smaller at eye level
- Professional photographers stack these techniques to compound the effect
Lighting and the Illusion of Brightness
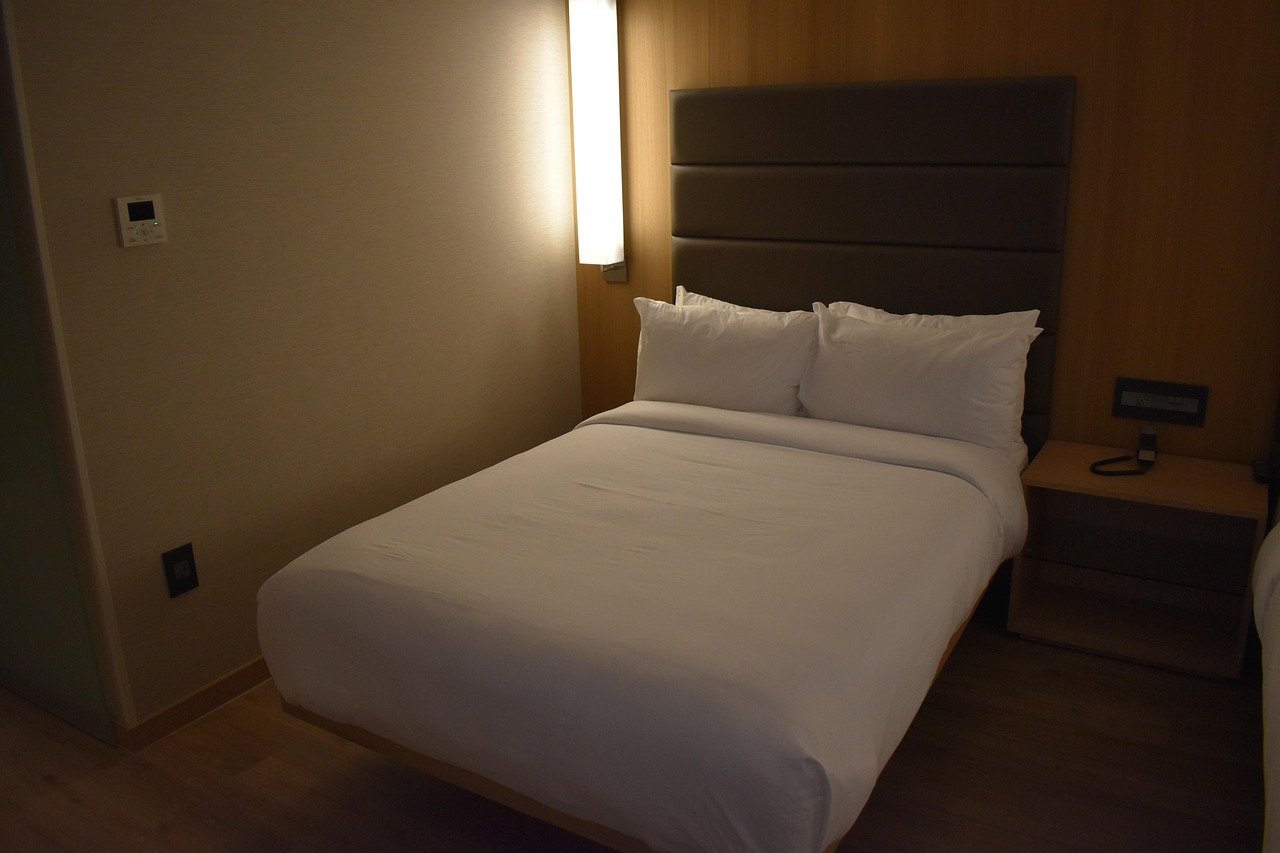
A dim bedroom photographed with professional lighting can appear sun-drenched in the listing photos.
Real estate photographers use multiple light sources—artificial flashes, reflectors, and carefully positioned studio lights—to brighten spaces far beyond their natural state. They often shoot on overcast days when outdoor light is flattest and most controllable, then add artificial fill light indoors.
This matters because brightness and perceived spaciousness are linked in human psychology. Brighter rooms feel larger, more welcoming, and more valuable. Darker rooms trigger anxiety and claustrophobia.
Photographers know this. They'll spend 20 minutes setting up lights in a kitchen to ensure every corner glows, creating an atmosphere you won't experience during typical morning or evening hours.
High dynamic range (HDR) processing compounds the effect. This technique merges multiple exposures to create images with impossibly balanced lighting—think bright windows that don't blow out while simultaneously illuminating shadowy corners.
Real rooms don't work this way. You either have bright windows with dark interiors, or you have evenly lit spaces with washed-out windows. HDR erases that choice.
Lighting tricks that distort reality:
- Professional lighting gear brightens spaces beyond natural levels
- Photographers use multiple fill lights to eliminate shadows
- Overcast days provide controllable, flattest light for manipulation
- Brightness creates psychological perception of larger space
- HDR processing balances light impossibly—no real room achieves this
- Morning or evening viewing may reveal dramatically different actual lighting
Why Photos Look Better (or Worse) Than Reality
Sometimes the opposite happens. A listing photo that looked mediocre suddenly impresses you in person.
This occurs when natural light streaming through windows in person overwhelms what a camera captured during controlled shooting conditions. Or when a room's flow and spatial relationships become clear only when you're physically navigating it. Photography flattens three dimensions onto two, inevitably losing information.
More often, though, photos look better than reality.
This is because photographers control every variable. They remove clutter, stage furniture to define spaces, position rugs to make rooms feel purposeful, and choose angles that hide awkward corners or structural issues. They photograph on the property's best-weather day. They time shots for peak natural light. They adjust white balance so walls appear warmer or cooler depending on the target aesthetic.
A real estate photographer might spend 4–6 hours capturing a home, taking 200+ images to select the 30–50 that make the final listing.
The gap between photo and reality is widest in smaller homes, older properties with irregular layouts, and spaces with poor natural light. Larger homes and modern construction photograph more accurately because there's less to distort. This is why veteran buyers often view "before" and "after" listings from the same photographer to understand their personal distortion ratio.
How to See Through the Distortion
Step 1: Request the photographer's full image set before your tour.
Most listing agents have access to 100+ photos from the shoot, not just the dozen posted online. Studying images taken from various angles and distances helps calibrate your expectations.
Look for consistency. If walls look drastically different colors across photos, heavy filtering is at work.
Step 2: Visit during the worst-light time of day for that room.
If the listing highlights a south-facing living room, visit in early morning or late afternoon. If a bedroom is shown bathed in golden light, see it on a gray afternoon.
This reveals the room's actual lighting personality, not the photographer's best-case scenario.
Bring a phone flashlight to check corners and recesses that weren't professionally lit.
Step 3: Measure doorways, windows, and furniture against your own body.
Stand in the center of rooms that looked spacious online. Walk hallways that seemed generous. Your body is a constant reference tool that photos can't distort.
Notice whether you can comfortably move furniture, or whether "spacious" really means "barely fits what the stager arranged."
Step 4: Check ceiling heights and structural irregularities from multiple positions.
Sloped ceilings, support beams, and uneven walls photograph differently depending on angle. Walk the perimeter of rooms and note where ceilings drop or walls angle unexpectedly. Crouch down and look up.
Photographers rarely shoot from this perspective, so you'll spot issues they hid.
Step 5: Photograph your own mobile video walkthrough for later review.
Use your phone's standard camera (not ultra-wide mode) to record a slow, steady video tour. This gives you a reference that's closer to your eye's natural perspective.
Review it at home to compare your memory against the listing photos, and you'll spot the distortions immediately.
Try it right here — no signup needed
1. What you actually take home
What actually lands in your account each month, after taxes and deductions.
2. The full cost of the house
Principal, interest, taxes, and insurance for the home you're considering.
About 1% of home value per year, divided by 12.
Electric, gas, water, sewer, trash, internet.
Leave at 0 if there is no association.
3. The life a lender can’t see
Underwriting ignores this entirely.
The contribution you refuse to stop making.
Groceries, gas, insurance, subscriptions, eating out.
Bank qualification vs. your real monthly housing number
Bank qualification
$3,120
Illustrative 36% debt ratio applied to estimated gross income. Ignores maintenance, childcare, savings, and everyday spending.
Your real monthly housing number
$1,625
25% of net income, capped by what’s left after the commitments you entered.
A lender would approve about $1,495 more per month than your budget supports. That gap is the house-poor zone.
Your summary
Over your ceiling
A lender may still approve this. Your budget is telling you something different.
- All-in housing cost
- $2,793
- Comfort target (25% of net)
- $1,625
- Safety ceiling (30% of net)
- $1,950
- Left for housing after your commitments
- $4,400
Frequently Asked Questions
Why do real estate photographers use such wide lenses if it's misleading?
Wide lenses are standard practice because they compensate for how oppressive small spaces feel to potential buyers. A cramped room photographed at natural focal length (50mm) looks nearly claustrophobic and sells poorly, even if the room is perfectly functional.
Wide angles make spaces feel ambitious and workable, which aligns with buyers' expectations of how homes should photograph. You might not like it, but it's just optimized marketing.
Should I trust my first impression during a showing, or second-guess myself based on photos?
Trust your in-person impression almost entirely. Your body in the space gives you accurate spatial information that photos obliterate.
However, use photos as a reference to understand what buyers will see when they search listings later. This matters if you're eventually selling the home yourself.
Do luxury homes photograph better than starter homes?
Generally yes. Larger spaces with high ceilings, abundant windows, and modern layouts resist distortion better because there's less need to exaggerate.
Starter homes and older properties with smaller rooms, irregular layouts, and limited natural light see the widest gaps between photos and reality.
Next Steps for First-Time Buyers
Understanding how real estate photos distort reality is one piece of the homebuying puzzle. But it's crucial knowledge that prevents costly disappointment.
Before you make an offer, spend time in the actual space under different lighting conditions, at different times of day. Bring a measuring tape. Walk every inch. Don't let photos drive your decision; let the physical reality guide you.
Ready to move forward confidently?
Connect with a knowledgeable real estate agent who can help you navigate listings, interpret photos critically, and find homes that genuinely match your needs—not just the ones that photograph best.
Connect with an Expert to partner with someone who can help first-time buyers like you see through marketing and find the right home.
Reach out today to start your search with clarity.
Try these free tools
All toolsHome Approach may pay featured experts for their time creating education. Some also work in real estate or lending. If you choose to work with one, they're paid the normal way through your transaction. Home Approach never receives any part of it.
FAQ
Home Approach Straight To Your Inbox
Get the insights you need to achieve your homeownership goals!